


aerokurier Online Contest
OLC-I | Skupno OLC-I
OLC-SI | Skupno OLC-SI


 ostale povezave
|

Varnost pred vsem – 2. del
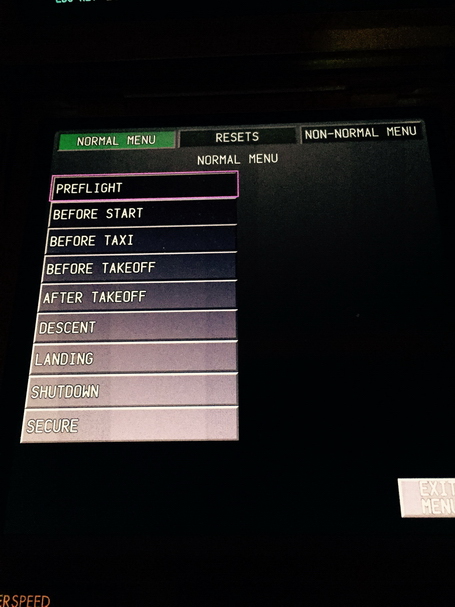
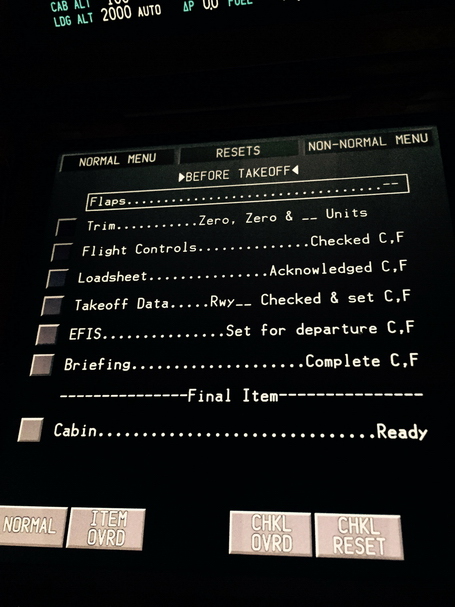
Before Take Off Check List
(OPENSOARING, 15. septembra 2016, besedilo Milan Petković Petko, foto Milan Petković Petko in Milan Korbar, uredil Milan Korbar)
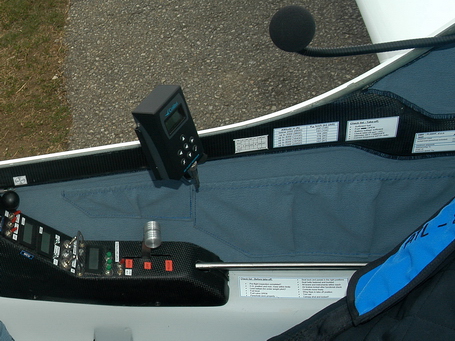
Primer kontrolnih seznamov v jadralnem letali Apis E
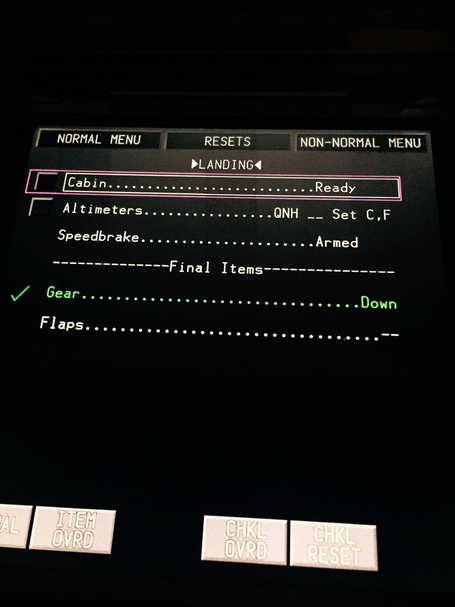
(My advice to those of you using check lists for the first time is to have them in a written form somewhere in your cockpit readily available. I have seen pilots with check lists hanging around their neck or microphone on a string. In my glider I had a "Landing Checklist" glued onto my instrument panel so that I could read it easily and hands free.)
Positive Control Check (objavljeno 17. avgusta 2016), 2. BEFORE TAKE OFF CHECK LIST (15.9. 2016), sledita še nadaljevanji: The Rudder Waggle in Before Landing Checklist
Before Take off Checklist
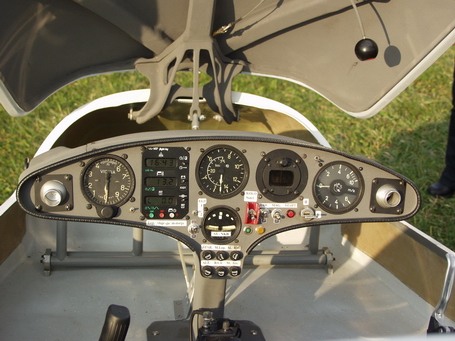
A, BB, CCC, D and E - Before Take off Checklist (OPENSOARING, 17. avgust 2016, besedilo Milan Petković-Petko)
This is my favorite check list for two reasons. First of all it is a very easy one to remember (A, BB, CCC, D and E) and second off all we are about to go flying and that is a very happy moment for all of us)
I recommend doing this checklist out loud. This way it will be easier for you to go through all the steps of the checklist and at the same time your flight instructor or flying partner will be able to follow along as well.
A: Altimeter and instruments
Make sure your altimeter is correctly set to airport elevation; check all your instruments and do a radio check with the ground base.
Close and set the air vents as you prefer. If taking off from a dusty runway it is recommended that they are closed.
B: Belts on and tight
If flying in a two seater ask the other pilot to do the same.
B: Ballast?
Do we have and do we need ballast for the purpose of correct CG? And are we carrying water ballast? If we do have water ballast and therefore our glider is heavy we will need to advise the tow pilot of this!
C: Controls free and correct!
Make a full motion of your control stick in all directions making sure once again that all your controls are moving freely and correctly. Observe the correct movement of your ailerons as you do this check.
Set the trim in the take off position.
If your glider has flaps, check their movement through their full range and set them in the take off position as recommended by your flight manual.
If you decide to check the rudder at this point as well, be careful because at some airports a glider pilot rudder waggle is a signal to the tow pilot that everything is ready and he may commence the take off. If the tow rope is already attached at this point (which I don't recommend!) this can cause a very dangerous situation!!!
C: Cable
First make sure that the area in front of your glider is clear, the only person that should be if front of your glider at this point is the person attaching the tow rope to your glider! Then have the tow rope attached to your glider, making sure that the correct tow ring is being used for your glider. The main difference is between the TOST and Schweizer tow rings. Most gliders these days use the TOST (smaller) tow ring but at some airports mostly in the USA you might come across a larger Schweizer tow ring which is not adequate for your modern glider!!! Also the weak link on the tow rope should be of adequate strength according to the weight of your glider.
Do a tow rope release check and then have the tow rope connected again and checked for its secure connection. Last but not least make sure that you can easily reach the release knob (usually painted in yellow) and remind yourself where it is located in case you need to pull it promptly in case of an emergency!
C: Canopy
Close and lock your canopy. Then gently push on the rim of your canopy making sure that it is indeed closed and latched. A number of accidents have happened due to inadvertent canopy opening on take off. If flying a two seat glider makes sure that the other pilot is doing the same check.
D: Dive brakes
Open them fully and make sure that both the left and the right dive brake are extended. Then close and lock them making sure that they are indeed stowed and locked! Most gliders will not take off with the dive brakes out! Unfortunately several pilots have proved this . . .
E: Emergency plan
Ask yourself what is the wind speed and direction and how will it affect your take off!!! Remind yourself of the emergency procedures in case of rope break and what the landing options are and procedures at the specific airport from which you are flying.
Now that you have completed your check list you are ready for take off. Scan the area around and above your glider one more time. Give the wing runner a signal that he may raise your wing. Do a radio check with the tow pilot and then advise him that he can tighten the tow rope. Once the tow rope is tight give a "thumbs up" signal to the wing runner giving him your final OK for the take off. Advise the tow pilot that he may commence the take off either via radio or with your rudder waggle (if this is the standard procedure at the airport from which you are flying).
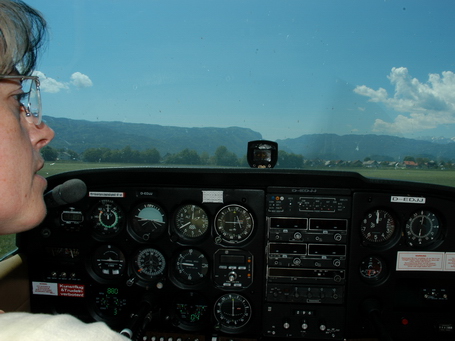
Relax and enjoy the flight and continue rehearsing the emergency procedure in case of rope break!!!
Safe flying to all of you,
Milan Petković, Petko
                                                  
na vrh strani
                                                  
|

Matt »Balleka« Wright – v spomin
Varnost pred vsem – 4. del
Before Landing check list
Varnost pred vsem – 3. del
The Rudder Waggle
Varnost pred vsem – 2. del
Before Take Off Check List
Nova mladost starega Herkula ali
Prijedor v družbi s Ptujem, Mariborom in Celjem ...
Varnost pred vsem – 1. del
Šolanje jadralnih pilotov 2016 v AK Celje
O Cirrusu d.o.o. malo drugače
Tehnični dan Aerokluba ALC Lesce
Matevž Lenarčič – še tretjič okoli sveta
Sobota z Edom Krištom ter Livno 2016
Dva dneva v Celju – za užitek, izobraževanje in razmislek
Se obetajo letalniku lepši časi?
Svetovni rekord na vitlo – 1852 m
                
Blog 2017
Blog 2016
Blog 2015
Blog 2014
Blog 2013
Blog 2011
Blog 2010
Blog 2009 |

|


